
How to Make a Snowman Birthday Cake—Celebrating 4 with a Snowman Party
* Don’t miss out on the current LFM giveaway! Enter to win a copy of the cookbook No Whine with Dinner!
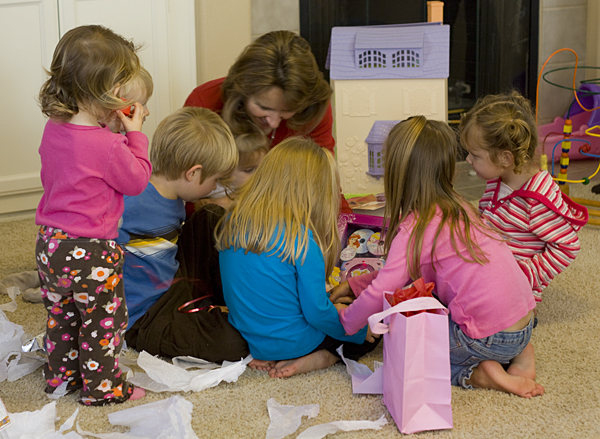
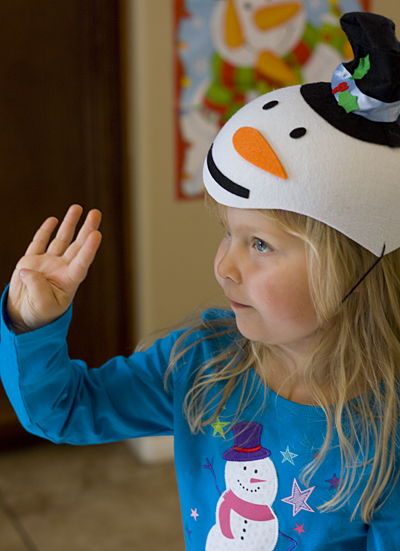
For Squirrel’s 4th birthday last week, we threw a little birthday party at the house and invited some of her friends.
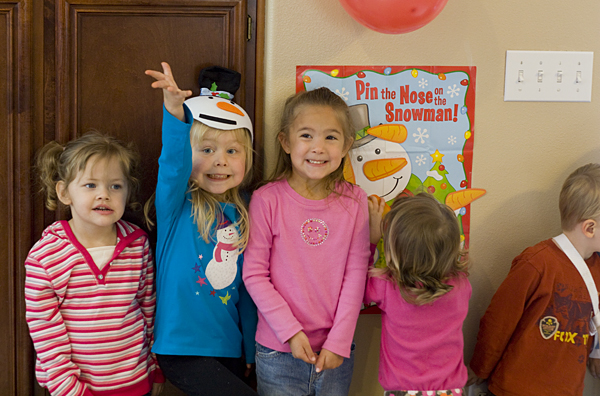
We decided to have a snowman themed party—something fun and seasonal.
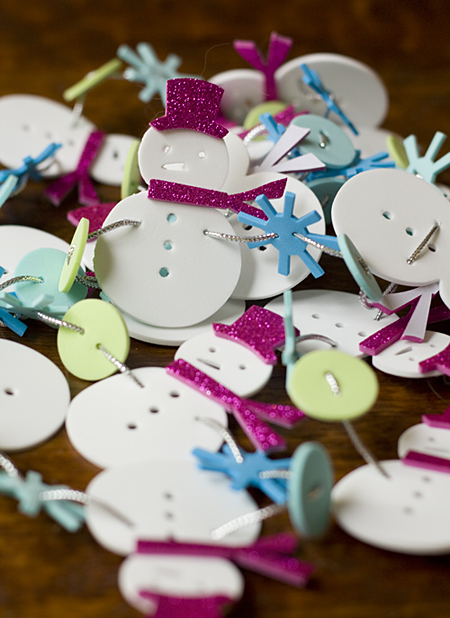
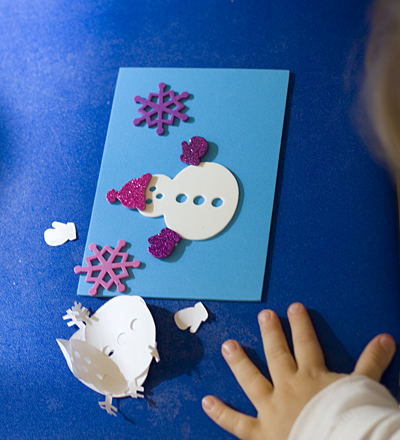
We started with a couple of crafts. The kids made wintry snowman scenes with pre-cut foam pieces,
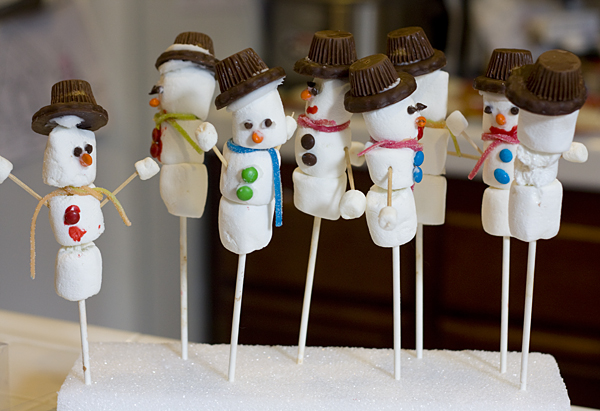
and then they built cute little snowmen on lollipop sticks out of marshmallows, candy, and frosting.
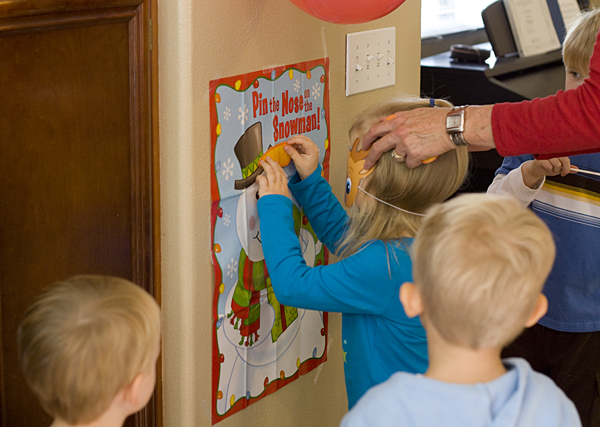
After a quick game of “Pin the Nose on the Snowman,”
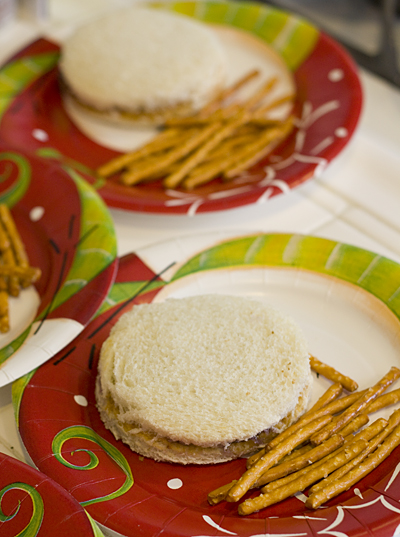
we served a light lunch of peanut butter and jelly “snowball” sandwiches, with a side of snowman arms. (I actually had planned on cutting the sandwiches out in a snowman shape and sticking the pretzels into the sandwiches to look like arms, but I forgot to check the size of the cookie cutter beforehand and it ended up being to big.)
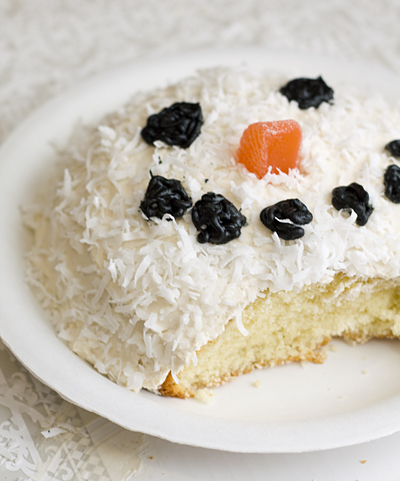
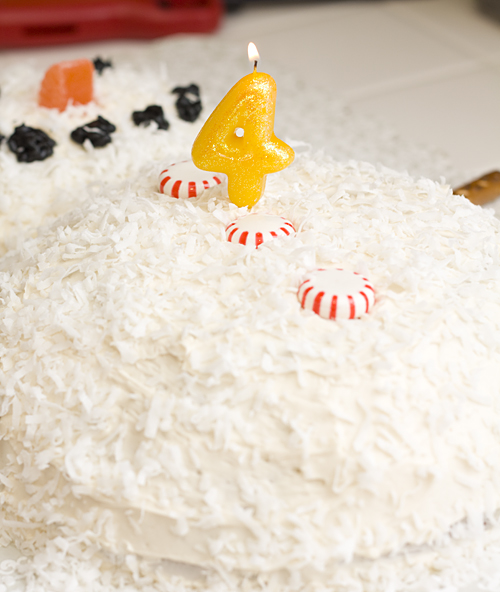
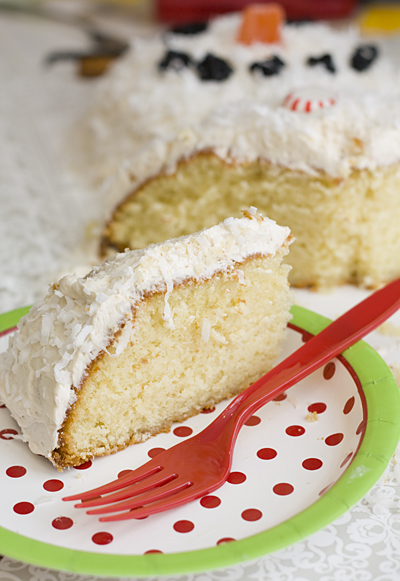
Finally, I brought out the pièce de résistance: a snowman birthday cake.

I was really please with how the cake turned out, and it ended up being really easy to make. Bonus!
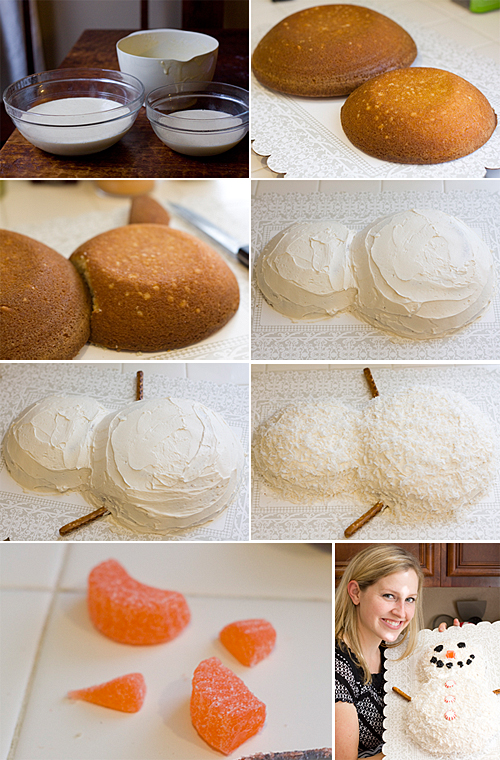
How To Make a Snowman Cake
1. You can choose any cake flavor you want. Use a recipe that makes enough batter for two 9-inch round cake pans or one 9×13-inch rectangular baking pan. I used a recipe for Simple Vanilla Cake that I had been wanting to try out for months after reading about it on Angry Chicken. Then choose 2 glass mixing bowls that are oven safe—one larger and one smaller (the large bowl I used was about 12 inches in diameter and the small bowl was 8 inches in diameter), and grease the bowls.
2. Make the cake batter and pour it into the bowls, so that the batter in the larger bowl comes to a fill line that is equal to the smaller bowl, or slightly higher. Bake the cake at the temperature dictated by the cake recipe, but instead of baking according to the indicated time, carefully watch the cakes and let them cook until until the tops are golden (if you’re making a white or yellow cake) and a bamboo skewer poked into the center of each cake comes out clean. The cake in my small bowl took about 40 minutes to cook, whereas the cake in my large bowl took about 55 minutes to cook.
3. Loosen the sides of the cake from the bowl with a thin knife, then it turn out onto a cooling rack. Let the cakes cool completely before covering with frosting. I made my cakes the night before, so that I wouldn’t be rushed the day of the party.
4. Make your favorite white frosting that pairs best with the cake flavor you have chosen. I made vanilla buttercream frosting using a wonderful (and easy!) recipe from Alice of Savory Sweet Life.
5. Place your cakes on a cake board, then carve out a small crescent piece of the smaller cake (the head), so that the cake will fit closer against the large cake (the body). Then use the frosting you made to frost the cake. Reserve a small amount of frosting to use for making snowman embellishments.
6. Once frosted, sprinkle the cake with shredded coconut, to give the cake a “snowier” look.
7. Time to decorate! I kept my snowman simple. I colored the leftover frosting black and used it to pipe on the “coal” eyes and mouth. For the nose, I used a candy orange and trimmed it down a bit. For the buttons, I used round peppermint candies. Finally, I used pretzel rods for the arms.
The cake made more than enough to feed the 8 kids and 5 adults present. After the party, I still had part of the body and the entire head left! The cake was a hit, and so easy that I will definitely use the idea again.